
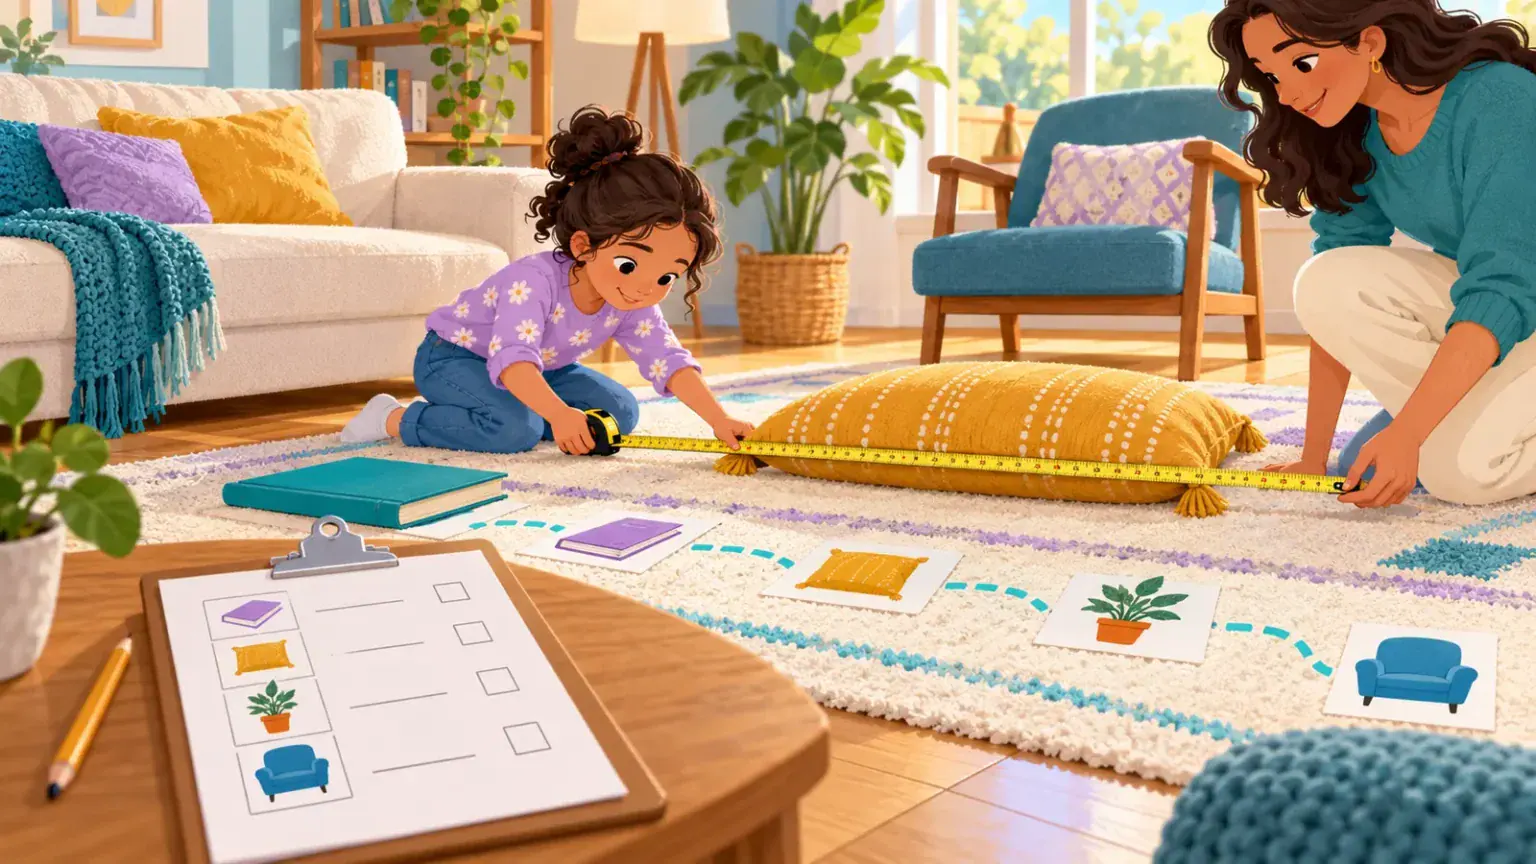
Estimation is not the same as guessing carelessly. It is making a reasonable prediction from what you already know, then checking and adjusting. A printable measurement trail gives children repeated practice without turning the home into a worksheet or scoring every answer.
The trail uses ordinary, safe objects: a book, cushion, table edge, shoe or doorway. Adults choose the route and tools first so children are not climbing, moving heavy furniture or measuring near heat, medicine, chemicals or breakable items.
Materials
- one-page trail with six rows;
- pencil or reusable marker;
- ruler, tape measure or equal-sized paper strips;
- optional string for curved objects;
- clipboard or firm book.
Use the unit familiar to the child and local school context. Informal units such as hand spans or paper strips are fine if everyone uses the same unit for that round.
Build the trail
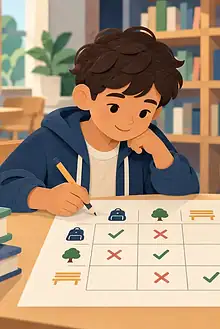
Give each row four boxes: object, estimate, tool or unit, checked result. Choose six items that stay in place. Add a small picture so emerging readers can follow the sheet.
Order the objects from straightforward to interesting: the length of a book, width of a cushion, height of a low chair, distance across a rug, circumference of a plant pot and length of a curved handle using string. Test the route yourself.
Play step by step
- Look at the object without measuring.
- Choose a comparison: “This book is about two rulers long.”
- Write or point to an estimate.
- Select a suitable tool.
- Measure carefully and record the result.
- Notice the difference without labelling the estimate good or bad.
Ask, “What will you use as your reference next time?” A very different result can be useful because it helps the child calibrate. Do not award points only for closeness; that encourages children to wait for hints or avoid bold estimates.
Make measurement fair and accessible
A child can hold one end of the tape while a partner reads it, point to the number, use a talking measuring tool if available or compare with large paper strips. Secure objects rather than asking a child with limited mobility to reach across them. Use bold print and fewer rows for visual or attention needs.
For ages 6–9, use whole units and direct lengths. For ages 10–12, compare two tools, measure perimeter or explain why a flexible tape works better than a rigid ruler. Avoid introducing decimals unless the child wants that challenge.
Add cooperative variations
Same object, different units: one player uses hand spans and another uses centimetres. Mystery match: measure three objects and match each result to an unlabeled object. Design a row: the child chooses a safe item and writes a clue for the adult.
The picture scavenger hunt offers another way to build an observation trail. For pattern noticing away from paper, try movement pattern games.
Keep it playful, not diagnostic
Harvard’s play resources describe games as opportunities to practise focus, working memory and flexible thinking. The American Academy of Pediatrics highlights playful discovery and simple materials. A measurement result does not diagnose a maths difficulty or prove readiness for a school level.
If a child becomes frustrated, reduce the trail to two objects or let them choose the tool before estimating. Stop while the activity is still manageable.
Reflect and reuse
Ask which reference helped most, which tool was awkward or which object would be interesting next. Slide the page into a reusable sleeve and change the object pictures with sticky notes.
The goal is not six perfect predictions. It is a repeatable cycle: notice, estimate, choose, check and revise.