
Carrying a child changes a bicycle’s weight, balance, braking distance and turning. A seat or trailer can look attached when a latch, pin or secondary strap is not fully engaged. A short routine before every ride is more reliable than a long inspection done only occasionally.
Confirm compatibility
Read the bicycle, carrier and helmet instructions together. Check developmental requirements, weight and height limits, permitted bicycle types and cargo limits. Do not infer readiness from age or copy another family’s setup. If the manual requires independent sitting or steady head control while helmeted, wait until that requirement is met and ask a health professional if unsure.
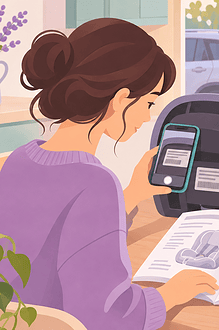
Verify model and serial numbers against recalls. CPSC recalls have involved child-seat mounting plates and trailer tow-bar receivers. Those examples show why exact attachment checks matter. For used gear, follow the second-hand product checklist.
Seven checks before moving
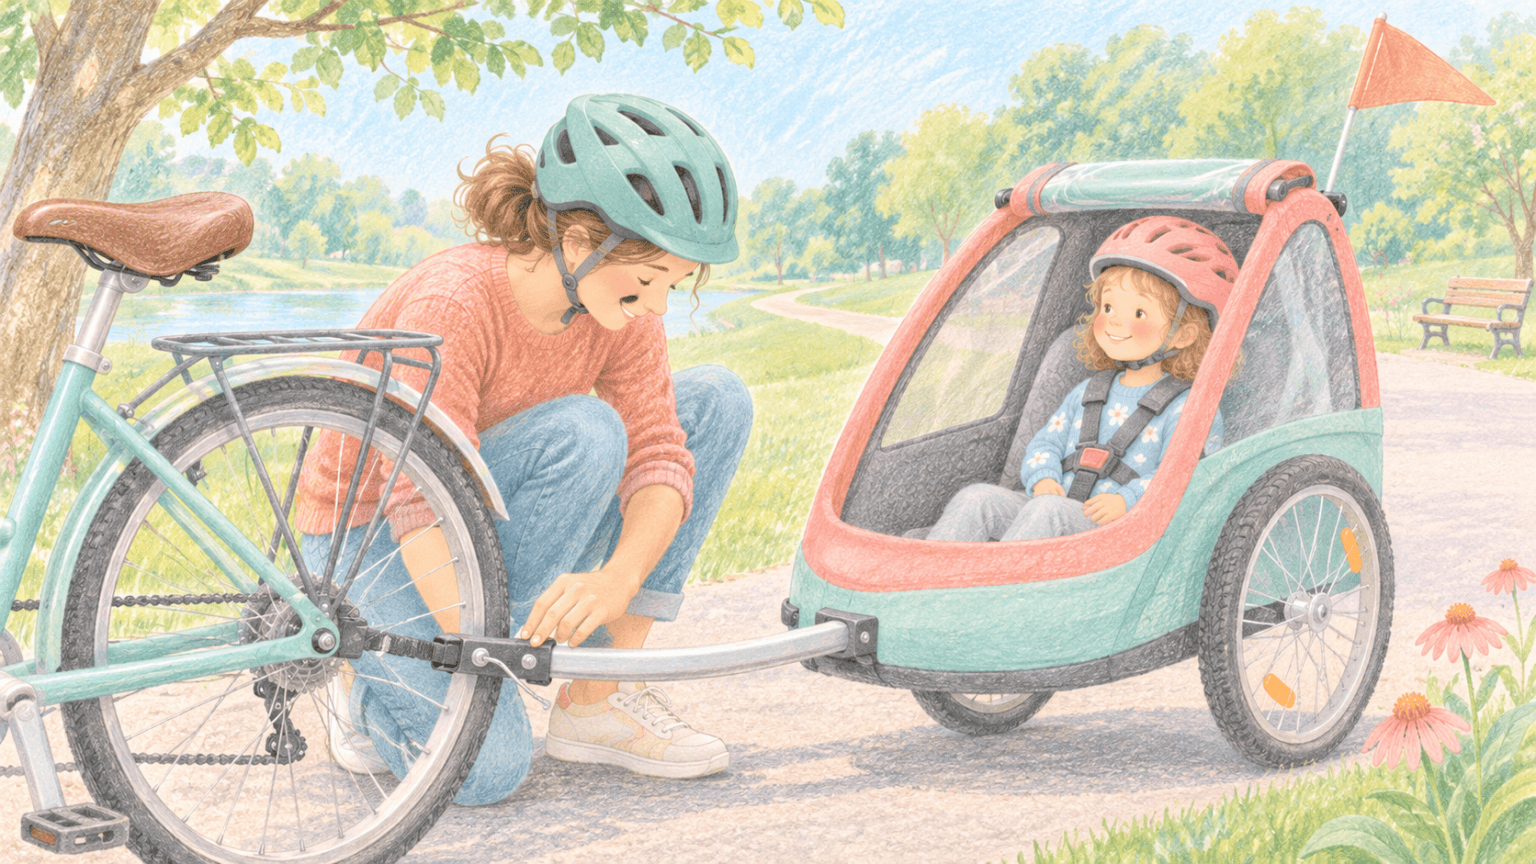
- Mount or hitch: push, pull and twist. Confirm every pin, latch and safety strap is routed as instructed.
- Frame and fasteners: look for cracks, bent parts, loosened bolts and rubbing cables.
- Wheels and tyres: check pressure, axle security, tread and trailer wheel retention.
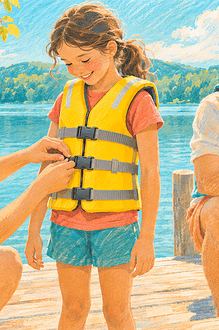
- Harness: buckle every point and snug flat straps away from spokes.
- Helmets: fit the child’s helmet level and snug using this five-check helmet guide; the adult needs one too.
- Visibility: use required flag, reflectors and lights.
- Brakes and handling: test both brakes and ride a slow circle in a traffic-free area.
Load in a safe sequence
Park on level ground away from traffic. Stabilize the bicycle as instructed; never rely on a child to keep still while you balance it. Another adult can help load a bike seat. For a trailer, use its parking brake if fitted, buckle the child, close the cover and release the brake only when ready.
Keep fingers, clothing, toys and straps away from wheels and chains. Do not attach bags where they alter steering or overload a rack. Carry only the number of children and cargo the product allows.
Choose the route for changed handling
Begin on smooth, separated paths or quiet streets. Avoid curbs, potholes, steep descents and tight gaps. A trailer tracks inside a turn and is wider; a rear seat raises the centre of gravity. Brake earlier and turn gradually. Stop if wind, heat, cold or distress makes riding unsafe.
Use simple language: “Hands stay inside. We stop if you need me.” For longer rides, plan breaks and recheck temperature, straps and attachment points. This routine supports but cannot guarantee safe riding.
After the ride
Inspect any part that took a knock, dry wet components and record maintenance. If a connection repeatedly loosens, a part cracks or handling feels unpredictable, stop using the setup and contact the manufacturer or a qualified bicycle technician. Never rely on an improvised repair for a child carrier.
Sources and further reading
Adapt the check to age and ability
A younger passenger may not be able to report a loose strap, cold hands or a pinching buckle. Stop soon after departure for a second visual check. An older child can join the routine by naming the seven points, but the adult remains responsible for the mechanical inspection. A child who cannot tolerate the harness or helmet cannot ride safely in that setup; do not loosen required restraints to make the trip happen.
Keep a small card with carrier model, limits and torque or service information supplied by the manufacturer. After transport on a car rack or storage in a shared bike room, inspect more closely for knocks and tampering. If the bicycle falls while the carrier is attached, unload it and inspect before continuing. A calm cancellation is better than trying to solve an uncertain connection at the roadside with an improvised fastener.