
A helmet only helps as intended when it is the right size, sits level and stays in place. Children grow quickly, hairstyles change and straps loosen, so fit is worth checking before every riding season and after a hard knock. The routine below takes about two minutes once you know it.
1. Start with the helmet, not the age label
Choose a bicycle helmet that meets the safety standard required where you live and is designed for the activity. Measure around the widest part of the child’s head, just above the eyebrows, and compare that number with the manufacturer’s size range. A helmet should fit now. Buying a large helmet “to grow into” leaves space that adjustment pads cannot reliably solve.
Let the child try it with their usual hairstyle. Thick ponytails, buns or winter hats can change the position. Use only accessories the manufacturer permits; bulky hats under a helmet can spoil the fit.
2. Level it
Place the helmet flat on the head, not tipped back like a bonnet. NHTSA’s quick check is two fingers above the eyebrows: the front edge should sit just above those fingers. The shell should cover the forehead while leaving a clear view. If it rocks forward over the eyes or slides backward, revisit the size and internal adjustment system.
3. Make a V around each ear
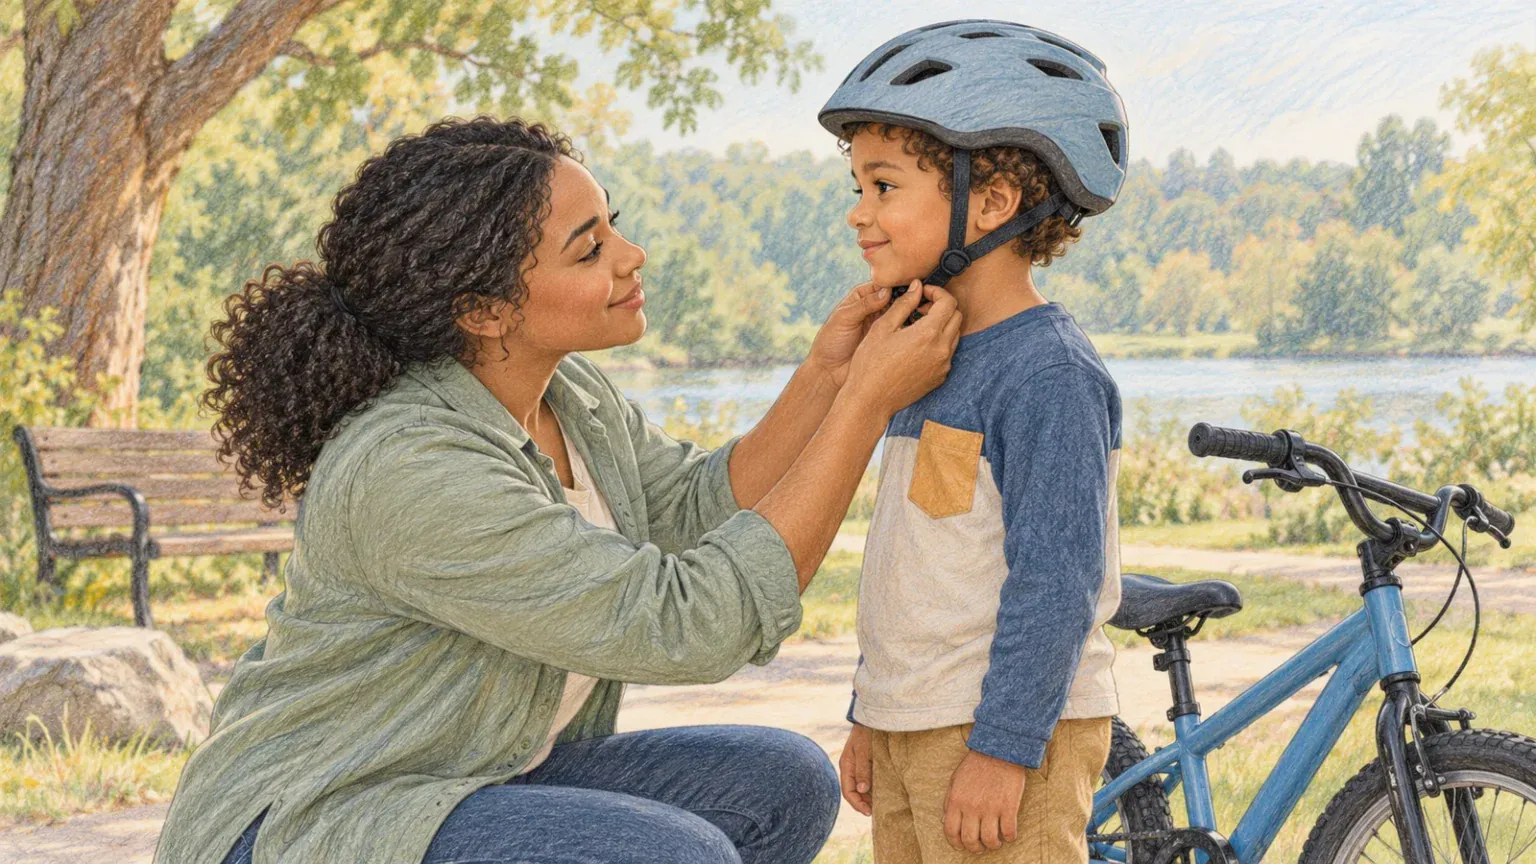
The side straps should meet just below each ear, forming a tidy V. Move the sliders one side at a time and check that no strap is twisted. This part is easier with the child looking straight ahead. Ask before touching near their ears, especially if they are sensitive to pressure or sound.
4. Snug the chin strap
Fasten the buckle and tighten until about two fingers fit between strap and chin. It should feel secure, not painful. Ask the child to open their mouth wide: they should feel gentle pressure on the top of the head. Check that the buckle does not pinch skin and that the loose end is secured as the instructions describe.
5. Do the movement test
With the strap fastened, ask the child to look up, down and side to side. Gently try to move the helmet. It should not slide far enough to expose the forehead or cover the eyes. If tightening creates pressure points, the helmet shape may not suit that child’s head even if the circumference is correct. Try another model rather than persuading them to tolerate pain.
Make the check child-friendly
Turn the sequence into three memorable gestures: two fingers at the brow, a V at the ears, two fingers under the chin. A preschooler can point while an adult adjusts. A school-age child can check in a mirror. A teen can take ownership of the routine while an adult occasionally confirms the straps have not loosened.
Replace a helmet after a crash or impact according to the manufacturer’s instructions, even when damage is not obvious. Also replace it when the shell, foam, buckle or straps are damaged, or when the manufacturer says it has reached the end of its service life. Do not use a second-hand helmet if its history is unknown.
Fit is one part of a safer ride
Choose a low-traffic practice area before road riding. Check the bicycle size, brakes and tyres, use visible clothing and lights where required, and follow local road rules. Adults set the strongest example by wearing a properly fitted helmet themselves. For planning beyond the ride, EdCaptain’s family emergency communication card can hold contact details, and the calm safety-drills guide offers language for practising without alarm.