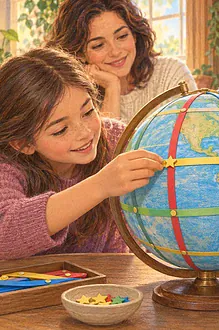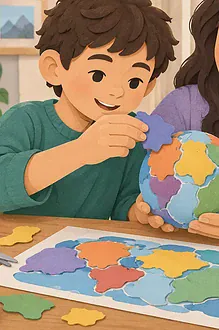

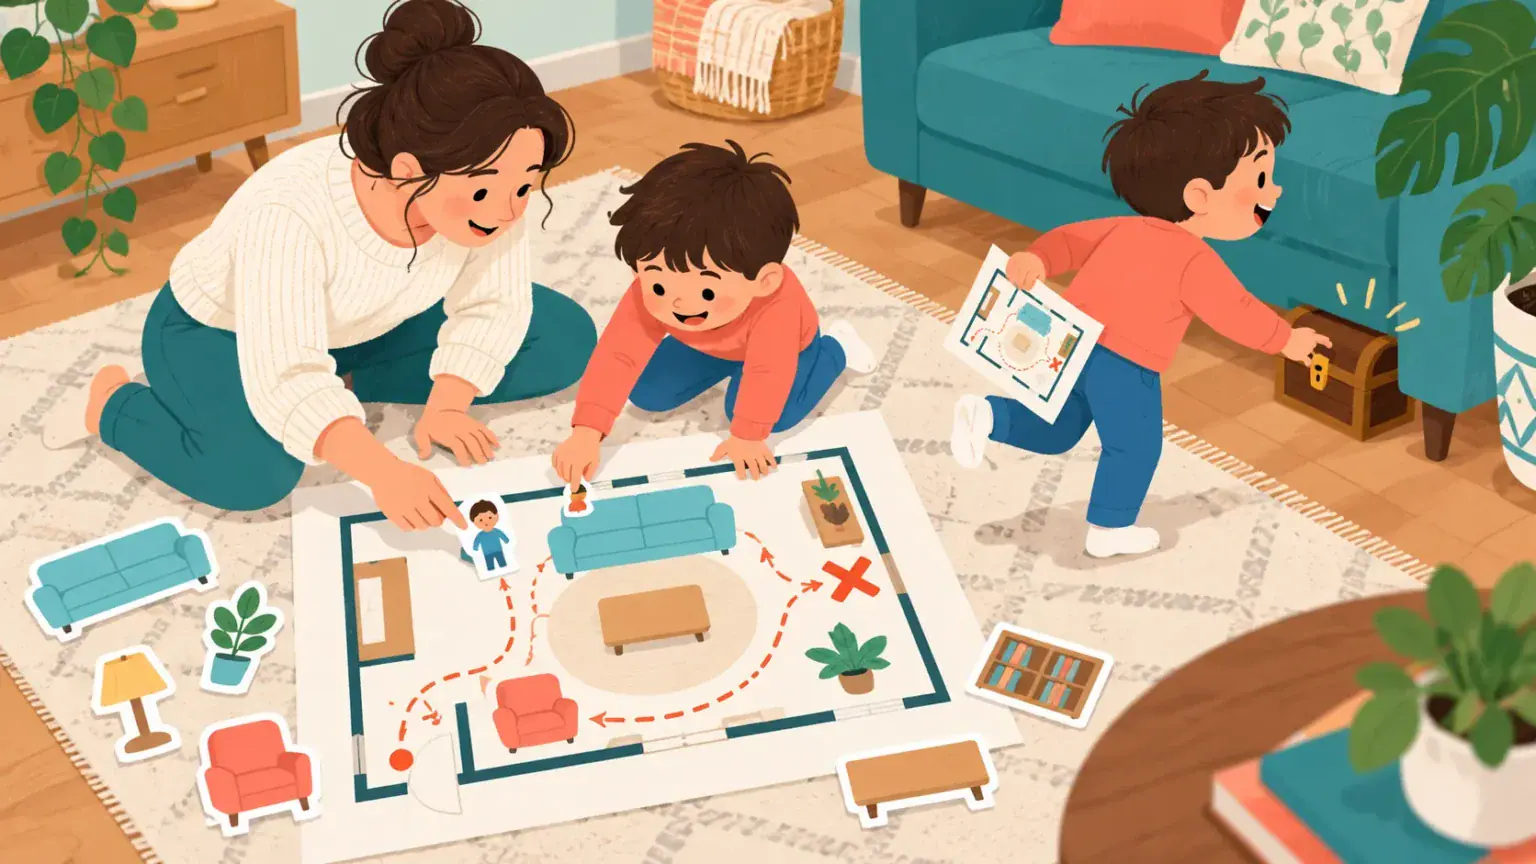
A child knows where the sofa is but may find it surprising that a map shows the sofa as a shape viewed from above. Mapping a familiar room makes representation, direction and relative position concrete before children tackle maps of larger places.
Materials
- Large paper, pencil, eraser and coloured card
- Removable tape or reusable sticky putty
- Safe object to hide
- Optional tape measure
Use a shared living area rather than a private bedroom if the map may be shown to others. Do not include an address, alarm location, keys or security details.
See the room like a bird
Stand together at the doorway. Imagine the ceiling has disappeared and you are looking straight down. Notice the outline, doors, windows and large items that stay in one place. Ask what matters for finding a route and what can be left out.
Build the first map
- Draw the room boundary and mark openings.
- Cut simple shapes for the largest furniture.
- Place each shape using near, far, next to, between and opposite.
- Add a small key showing what two or three symbols mean.
- Mark a start point and trace a route with a finger.
- Walk the real route and revise anything misleading.
Accuracy does not require decorating every cushion. A useful map selects information. If the table is much larger than the chair in the room, it should also be relatively larger on the page, even when the drawing is not perfectly to scale.
Test it with a treasure hunt
One person hides a safe object in an accessible location and marks it on a copy of the map. Another person follows the map without verbal directions. Afterwards, ask which symbol or landmark helped and which was confusing. Revise the map, then switch roles.
Do not hide choking hazards, food, medication or objects near sockets, appliances, balconies or heavy furniture. The search area should be agreed in advance.
Add direction and scale gradually
Ages 3–5 can place picture shapes and use location words. Ages 6–9 can add a key, arrows and rough proportions. Older children can measure walls and create a simple scale, such as one centimetre representing half a metre. A scale should be consistent rather than merely written in the corner.
Accessible mapping
Use textured shapes, raised glue lines or large high-contrast symbols. A child who cannot move around the room can direct the survey and test whether descriptions match the map. Include mobility routes and furniture clearance when relevant. This makes accessibility part of geographical information, not an afterthought.
Questions for mapmakers
- Which details are essential for finding the treasure?
- How does the view from above change an object’s shape?
- Could a visitor understand the key?
- What changed after walking the route?
Continue with measuring and mapping games, turn three-dimensional shape into lines with the clay contour-map activity, or explore how models simplify reality in the scale solar system.
Introduce orientation without making it a rule
Rotate the finished map and compare it with the room. The room has not changed, but the direction a reader faces has. Add a “door side” arrow first; if the child is ready, use a compass to mark north. Maps do not have to place north at the top, though many conventional maps do. What matters is giving the reader enough information to orient the page.
Test a second route that avoids an imaginary obstacle, such as a blocked chair or a space needed for a wheelchair. This shows that a map can support decisions as well as describe locations. Keep treasure clues about visible landmarks rather than steps counted from memory, since stride length varies. At the end, compare the original map with the revised one and circle the change that made navigation easiest.