
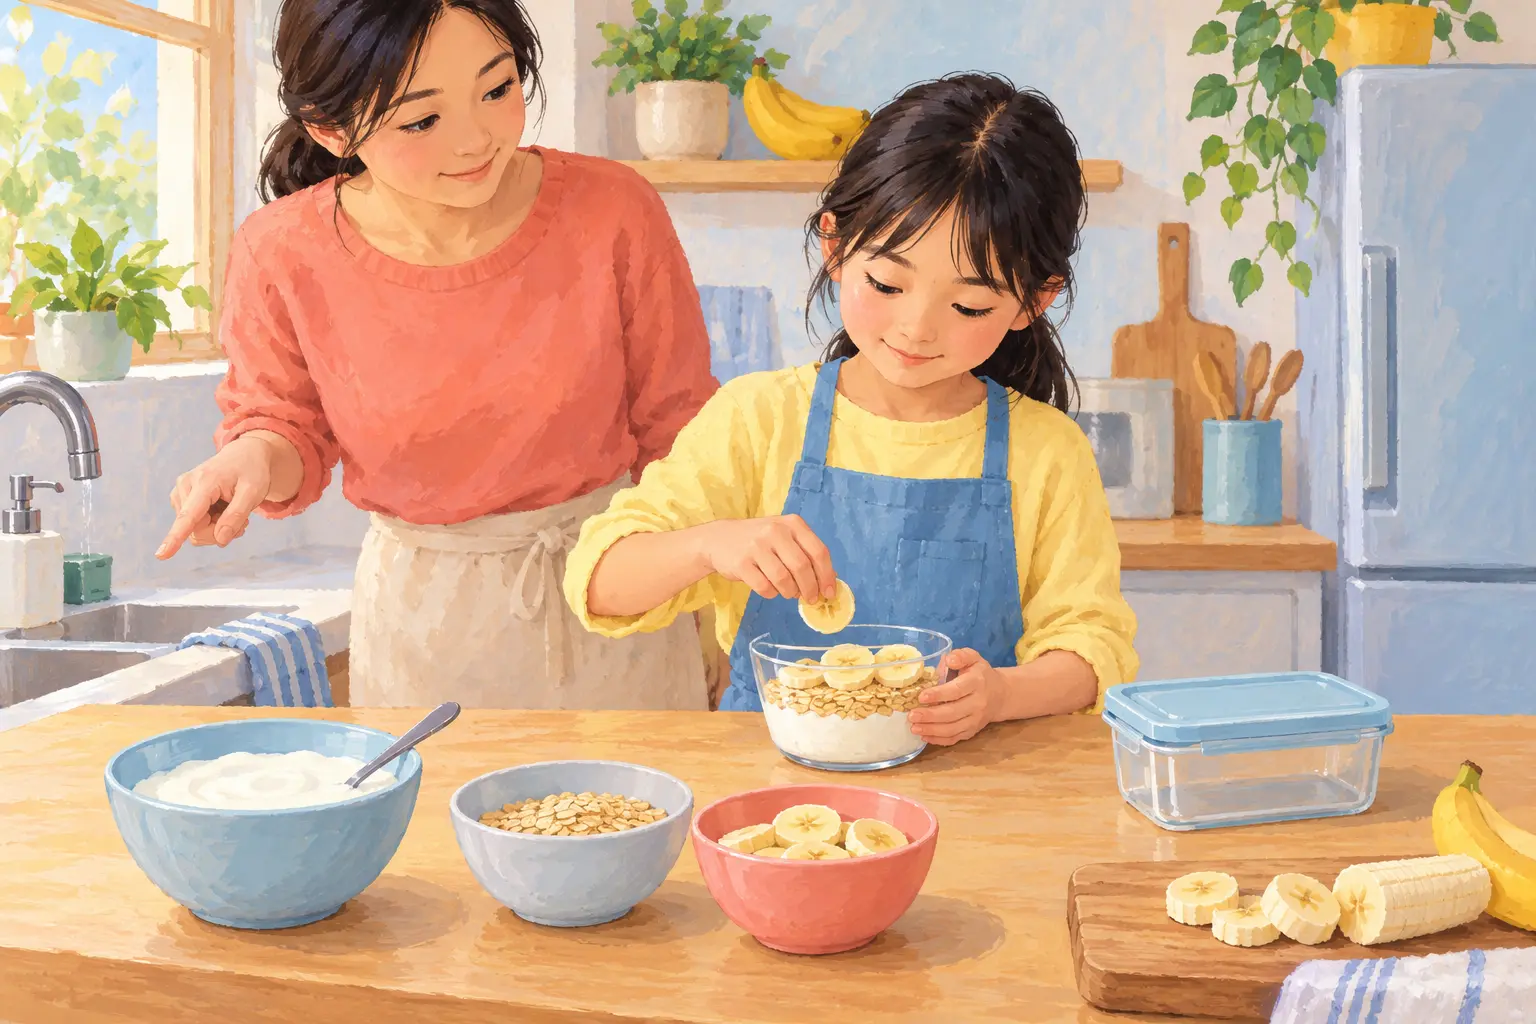
Making a snack is a small task with a satisfying finish, which makes it an excellent first kitchen responsibility. Begin with a no-cook recipe so your child can focus on hygiene, sequencing and clean-up before adding heat or sharp tools. The aim is not a picture-perfect bowl. It is a repeatable routine your child can use safely.
Choose a forgiving first snack
Pick three to five familiar ingredients and equipment your child can handle. Good options include yogurt with banana and oats, crackers with cheese and sliced cucumber, or a sandwich with a ready-to-spread filling. Check food allergies, swallowing safety and any dietary plan that applies to your child. For younger children, an adult should prepare hard or round foods in an age-appropriate way and handle any sharp cutting.
Put ingredients on one shelf or in one basket when possible. Independence is easier when a child does not have to climb, move heavy containers or search through a crowded kitchen.
The five-part snack routine
- Plan. Name the snack, ingredients and tools. Ask, “What needs to stay cold?” and “Is there anything here you must not eat?”
- Clean. Wash hands with soap and water for at least 20 seconds. Clear the work surface and use clean utensils.
- Prepare. Follow the same simple sequence each time. Model safe spreading, pouring and portioning. Keep raw meat, poultry, seafood and eggs out of a beginner no-cook lesson.
- Put food away. Return perishable ingredients to the refrigerator promptly. If a chilled ingredient has been left out for an uncertain or long time, ask an adult rather than guessing.
- Reset the space. Put dishes in the sink or dishwasher, wipe the surface and check the floor for spills.
FoodSafety.gov organizes home food safety around four ideas: clean, separate, cook and chill. A no-cook snack mainly uses clean, separate and chill. Wash produce under running water rather than with soap. Use different clean utensils and surfaces if there is a risk of cross-contact with an allergen or contamination from raw foods.
Use “show, share, step back”
Make the snack once while your child watches. The next time, divide the jobs. On the third attempt, let your child lead and use questions instead of commands: “What comes before we touch food?” “Where does the yogurt go when you finish?” This follows the same gradual handover used in teaching life skills by age and readiness.
Agree on adult-only tasks. These may include sharp knives, appliances, opening difficult packages or reading an allergy label. A child can still own the rest of the snack while an adult completes one safety step.
Make the routine easier to remember
Create a card with five pictures: plan, hands, make, chill, clean. Store it with the snack bowl. For children who benefit from fewer choices, offer two approved snacks. For limited grip or coordination, use a non-slip mat, lightweight containers and easy-open lids. A seated work surface can make the task more comfortable without making it less independent.
Older children can practise comparing use-by instructions, packing the snack in an insulated container when required, and checking whether a shared utensil might transfer an allergen. Teens can add a cooked step only after they understand heat safety and can follow appliance directions.
What to say when something goes wrong
Spills are part of learning. Say, “First make the floor safe; then we’ll work out what happened.” If your child chooses the wrong bowl or makes too much, help them correct the problem without taking over. If there is possible allergen exposure, spoiled food, broken glass, a cut or a burn, stop and involve an adult immediately. Follow the child’s allergy or medical action plan where one exists.
A dependable snack routine can later expand into lunch packing or a simple meal. You can connect it with our guide to packing a school bag independently: prepare a short list, place supplies within reach and finish with a check.