
Age guide: 3–8 years. Adapt the activity to your child’s interests and abilities.
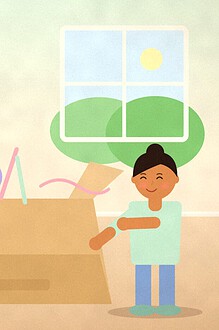
A parcel arrives. You are interested in what is inside. Your child is interested in the box. Before flattening it for recycling, ask: “What could this become?” Their answer may be more interesting than the project you had planned.
You do not need to build a magnificent castle. One small box can become a home for a toy, a tiny shop or a place where imaginary creatures park their cars.
1. Check the box before the game begins
- Choose clean, dry cardboard without staples, sharp edges or loose packing material.
- Remove plastic bags, cords and small pieces that a younger child could swallow.
- Make any difficult cuts yourself, away from children. Put cutting tools out of reach afterwards.
- Keep structures on the floor or a stable play surface. Cardboard is not climbing equipment.
- Do not make enclosed containers a child could become trapped inside. Keep play open and easy to leave.
For younger children or children who mouth objects, use large pieces and stay close. Adapt the materials to the youngest child sharing the space.
2. Offer three possibilities, then listen
If “anything” feels too big, suggest a choice: a toy home, a pretend shop or a miniature town. Your child may choose something else entirely. That is a useful beginning, too.
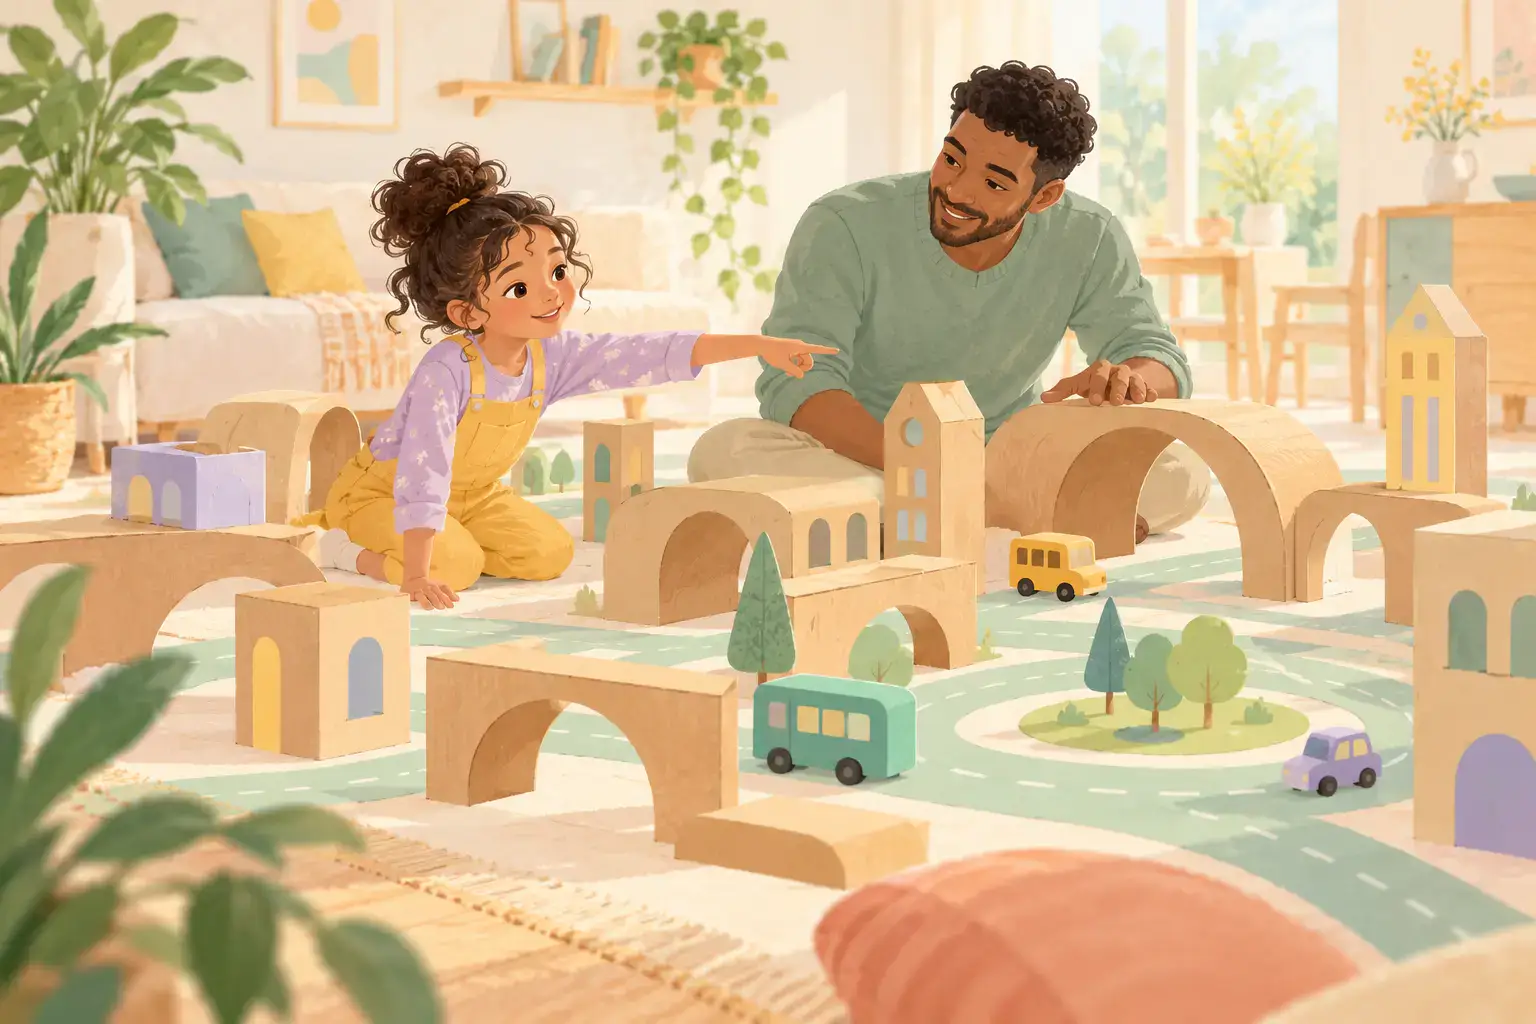
For a town, ask one question: “Who needs somewhere to go?” A toy animal might need a sleeping place. A bus might need a stop. One idea gives the next piece a purpose without requiring a complete city.
3. Make one part that can be played with now
A doorway drawn on the side may be enough. Add a paper road or a folded cardboard bed if your child wants one. There is no need to decorate every surface before play can begin.
UNICEF’s guidance describes how everyday play gives children opportunities to explore ideas and solve problems; expensive toys are not a requirement. Here, the useful work might be deciding where a door goes or finding a way to keep a wall upright.
4. Help with the awkward bit, then hand it back
Try: “Would you like me to hold this while you tape it?” That offers practical help while leaving the design with your child. If the roof slips, ask whether they want to change it, support it or leave the house roofless.
Keep materials modest: cardboard, paper, crayons and a little age-appropriate tape or glue. Extra supplies can wait until there is a reason to add them.
5. Give the project an ending you can live with
Before bedtime, decide together what can stay and where. Keep one favourite piece if space is tight. A picture of the project, if your child wants one, can help mark the occasion without turning your home into permanent cardboard storage.
The next box does not have to improve on this one. It can start a completely different story.
Try next
- Always drawing the same character? There’s room for copying and imagining
- The bridge fell. What shall we try next?