
By EdCaptain editorial desk · Published
General educational guidance. No qualified clinical review is recorded for this article. Health and safety information.
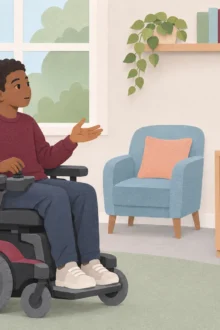
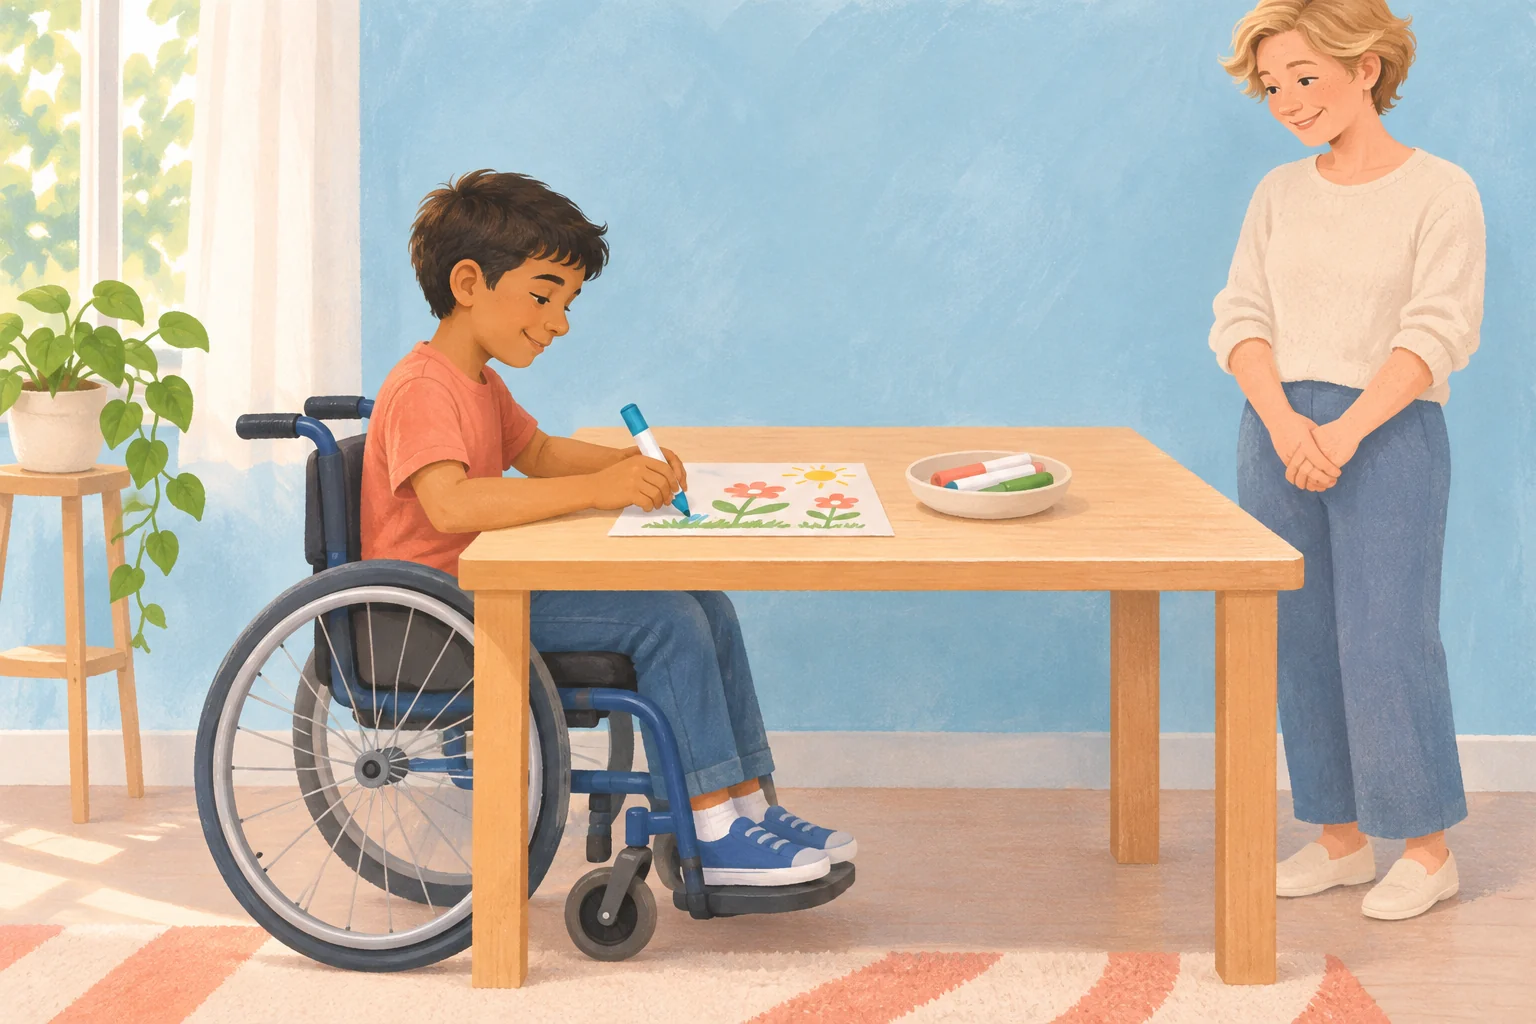
The paper is on the table, but your child cannot get close enough to draw comfortably. The marker they want is across the surface. Each new colour means asking someone to pass it over. Before buying a bigger art set, look at how the workspace is arranged.
For a child aged 6–12 who uses a wheelchair, a useful art space brings the project within reach while preserving their usual support and their creative decisions. There is no single table height or tool that suits every child. Start with the chair, seating arrangements and access methods they already use.
Choose the project before arranging the table
Ask what your child actually wants to make: a small drawing, a pretend shop sign, a comic panel or something else. A child making a postcard does not need an entire dining table covered in supplies. A child choosing the colours and directing another person needs those choices presented clearly, even if they are not holding the marker.
CanChild’s Participation Knowledge Hub explains that participation is influenced by the environment as well as a person’s abilities and preferences. This includes practical arrangements and the support people provide. At home, that is a reason to notice the table and the helper’s role before treating difficulty as a lack of effort.
Check approach and clearance with supplies put away
Use a stable table and a clear route to it. Check whether table legs, a central pedestal, drawers or an apron beneath the tabletop block the wheelchair’s approach. Look at space for knees, foot supports, arm supports and controls without forcing the chair into the furniture.
Ask the child whether they can see the page and work in their familiar, comfortable position. Do not remove wheelchair parts, alter straps, substitute cushions or change seating to fit the table. Avoid balancing a tabletop on books or blocks. Furniture that wobbles or requires someone to hold it in place is not a workable art station.
If the available surface does not fit, pause and ask the child’s occupational therapist or wheelchair service about an appropriate work surface. An existing, professionally advised tray or other setup may already be suitable. Do not attach a homemade board to the chair. Our guide to when a wheelchair needs review covers broader changes in comfort and function.
Bring the page and tools to the child
Once the approach works, put down a small sheet and one familiar drawing tool. Ask, “Where would you like this?” Have the child indicate a comfortable working area rather than testing how far they can stretch.
Put the next two colours beside the page in a shallow, stable container. Keep spare supplies elsewhere. The useful space is the area the child can work in comfortably, not every part of the tabletop. If one side is easier to access, present choices there; do not insist on equal use of both sides.
Move or turn the paper, with permission, instead of expecting the child to reach across a large sheet. If it slides, low-tack tape at the corners may help on a surface that tolerates it. An adult should apply and remove it; do not tape paper to skin, clothing or wheelchair components.
Keep a communication device available in its usual usable position. A tidy art table is not an improvement if the child can no longer ask for a colour, a pause or help.
Try a small project to check the setup
This optional invitation is for making art and finding a usable arrangement. It is not a therapy exercise or a test of independence.
You need: one small sheet of paper, two or three familiar crayons or child-appropriate water-based markers, a shallow container, and optional low-tack tape for the tabletop. Keep a cloth and accessible handwashing available. No scissors, glue, paint water or specialist kit is needed.
- Choose an imaginary place. Invite the child to make a postcard from somewhere they invent: a moon garden, a tiny city or an underwater library. They can choose another subject or decline.
- Choose one starting detail. Ask what belongs there first. The child may draw it, choose its colour, indicate its position or direct a helper.
- Check the first action. Can the child access the page and their chosen tool comfortably? If something is awkward, change the paper or supply position before adding more materials.
- Add what the child chooses. Offer another colour or detail without requiring a particular number. Turn the page if requested. A few marks can be a complete picture.
- Finish on their terms. Ask whether to keep working, put it aside or stop. Let them decide whether the postcard is kept, displayed, given away or recycled.
For ages 6–9, offer one concrete choice at a time: “Blue or green?” or “Shall I turn the page?” For ages 10–12, invite the child to arrange their preferred materials and decide whether a folded card, small sketchbook or single panel suits the project. An adult still handles any unsuitable folding or preparation task.
Make assistance precise
Ask, “Would you like me to steady the paper, open the cap or draw where you tell me?” Wait for the answer through speech, pointing, eye gaze or the child’s usual communication system. Agree how they will indicate stop or change.
A child who cannot comfortably manipulate the tool can remain the artist by deciding subject, colour, placement and when the work is finished. Confirm a direction without taking over: “You chose a yellow circle here. Is that right?” Do not hold their hand and move it through a picture without agreement.
Friends and siblings can make their own work alongside. Each person needs enough room, and shared materials should be reachable by arrangement rather than controlled by the quickest person. For wider equipment boundaries, see asking before touching or moving a child’s wheelchair.
Keep the materials simple and the setup comfortable
Health Canada recommends age-appropriate materials, close supervision, reading labels, keeping food separate and washing hands after art. Its safer alternatives include water-based markers rather than permanent markers. Follow the actual product’s instructions; “washable” does not mean edible or suitable for drawing on skin.
Keep caps and small loose pieces with the supervising adult when they present a swallowing risk. Avoid dusty powders, sprays, solvents and unfamiliar mixtures for this activity. If a child mouths tools or needs specialist access equipment, choose materials with their usual support team rather than improvising.
Pause for discomfort, tiredness or a request to stop. New or persistent pain, skin problems or a change in sitting comfort needs advice from the appropriate health professional or wheelchair service. Do not change the child’s prescribed support to extend art time.
Afterwards, ask one useful question: “What should stay in the same place next time?” Record the answer or remember the arrangement. A successful setup is one the child can use to make their own choices, with whatever agreed assistance they need.