By EdCaptain editorial desk · Published
A mitten, a toy boat and an old drawing can sit in a pile without anyone noticing what connects them. Put them in a deliberate order, add a few labels, and they can tell a story about making things, a favourite season or somebody’s changing interests.
A home museum activity for ages 6–12 gives your child a different creative role: choosing what to include and how other people encounter it. Western Australian Museum’s Museum at Home activity brings together objects, arrangement and labels; New Mexico Museum of Art also offers resources on home exhibitions. This small family version uses three to five safe objects and one tabletop. No new purchases, public posting or elaborate display cases are needed.
Agree on a place and a closing time
Choose a stable, accessible surface with enough space for objects and labels. Keep doors, walkways and everyday household tasks clear. Agree how long the display can stay: “This end of the table is available until dinner. Where could we keep the objects afterwards?”
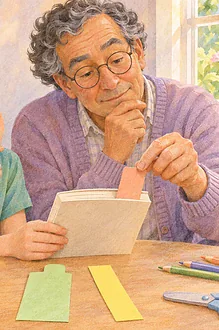
Gather paper, pencils and optional crayons. Folded paper can stand beside an object as a label, so glue, pins and tape are unnecessary. Avoid balancing objects on improvised towers or asking children to climb for items. Adults should move anything awkward or heavy.
Invite your child to make an exhibition for one willing person at home. Allow a short first session, with another session later if wanted. There is no need to fill an afternoon or prepare a performance.
Build the exhibition in five decisions
- Find a possible connection. Offer a few starting points: things that move, things someone made, or objects used on rainy days. Ask which sounds interesting. A child can choose the objects first and discover a theme afterwards.
- Choose three to five objects. Use clean, sturdy, lightweight belongings with the owner’s permission. Toy vehicles, a knitted item, a child’s own drawing or an everyday wooden utensil might work. A drawing of an object can stand in for something that cannot safely be moved.
- Choose the first thing a visitor will see. Arrange the objects with space between them. Try an order such as before-and-after, large-to-small or three different uses of one material. Ask, “What makes you want to begin here?” Several arrangements can work.
- Add a title and short labels. Give the exhibition a name that hints at its connection. Beside each object, name it and add one useful detail: who made it if known, how it is used, or why it belongs in this group.
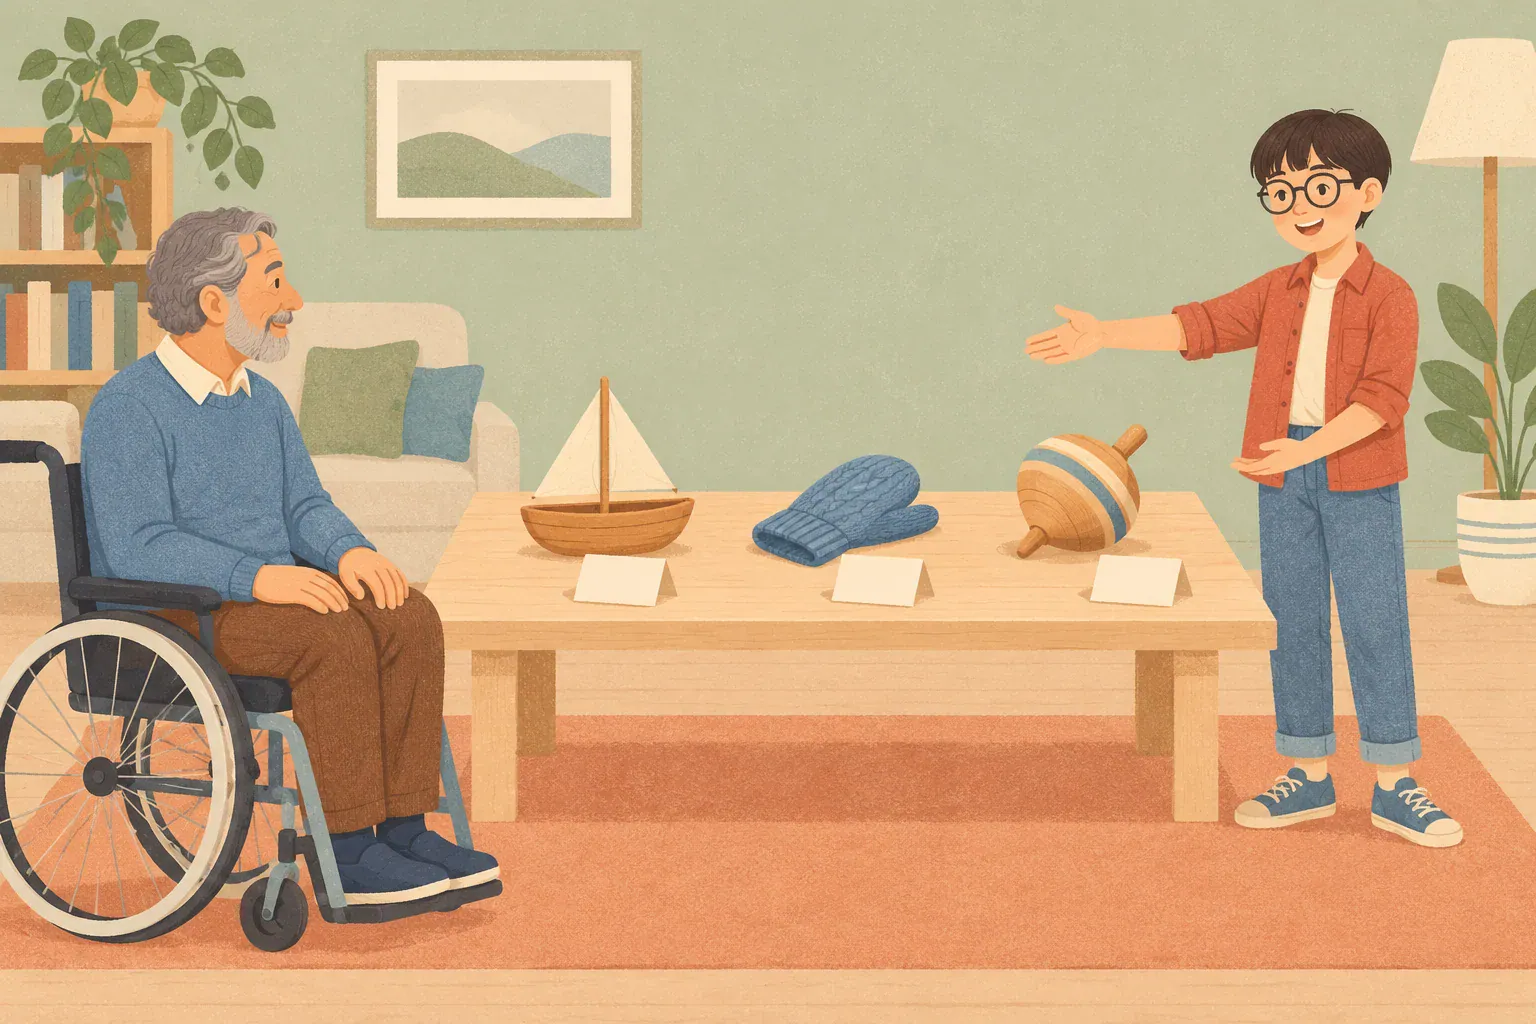
- Invite a visitor to explore. Ask them to look, read or listen, then share one thing they noticed. The child can explain, point to a label or simply watch. A spoken tour is optional.
Keep medicines, batteries, magnets, sharp tools, breakable objects, food and choking-size pieces out of the display. Choose materials for everyone who can reach it, including younger siblings and pets. A home exhibition is not a reason to collect wildlife, remove objects from public places or handle unknown finds.
Make labels that tell the truth
Western Australian Museum suggests short object labels that can name an item or explain its significance. For this activity, one or two sentences are enough. A child might write: “Blue mitten. My aunt knitted this. It belongs here because our exhibition is about things made by hand.” Only use that story if it is true.
If nobody knows who made an object, say “Maker unknown” or leave the detail out. “I think this is older than me” is a guess; “We do not know when it was made” is an honest label. You can ask the owner later without turning the whole session into research homework.
Imaginary museums are welcome too. Label the display “An invented collection” and make up a story about objects from a fictional world. Distinguishing invention from a factual label lets children enjoy both without presenting a made-up family history as evidence.
Keep addresses, school details, private documents and stories another person does not want shared out of the exhibition. An object can be interesting without revealing something personal about its owner.
Leave the choices with the curator
Try: “Would you like help writing that down, or would you like me to wait?” Your child can dictate a label while you record their words. Ask before shortening it or moving an object. You can explain a practical limit without redesigning the exhibition: “That item is too fragile for this table. Could a drawing represent it?”
If siblings join, give each a small area or let them agree separate roles. One child should not automatically become the other’s teacher. These suggestions for sharing creative space while protecting separate ideas can help when plans differ.
Adapt the task to the child
Ages 6–9: Begin with three objects and a simple connection. Offer to scribe a single sentence for each. A title can be spoken or drawn. Help with carrying and positioning while the child chooses where each object belongs.
Ages 10–12: Invite a slightly more complex choice: tell the same story using a different order, or include one object that challenges the obvious grouping. Ask them to distinguish what a visitor can see from what the label needs to explain. More objects and longer paragraphs are optional.
For either age, use large, high-contrast labels and a viewing height comfortable for the actual visitor. Leave room for seated access and the visitor’s usual mobility aid. A child can select objects by pointing, signing or using a communication aid, and direct an adult to arrange them.
Offer descriptions for objects someone cannot see clearly. Agree which sturdy items may be handled; keep a “look only” choice available. Nobody has to tolerate an uncomfortable texture, stand for a tour or read aloud to participate.
Notice what the arrangement did
After the visit, ask one optional question: “Did the visitor notice the connection you wanted?” A useful response might be moving a label closer or changing the first object. It is also fine to leave the exhibition exactly as it is.
Ask the child and other contributors before photographing anything. Keeping a record is optional, and a home display does not need an online audience. If your child wants to keep selected work digitally, the guide to a private portfolio they can control covers that separate decision.
At closing time, return borrowed objects, save any labels the child wants and clear the route. The creative result can be a new way of seeing ordinary belongings, rather than something new to store.
Sources and further reading
- Western Australian Museum: Museum at Home — choosing, arranging and labelling a home collection; this article adapts that established activity approach.
- New Mexico Museum of Art: Museum at Home — resources on information labels, curating an exhibition and leading a tour.