By EdCaptain editorial desk · Published
A crayon moves across plain paper and a row of ridges appears. Turn the paper, try another surface, and the same ordinary material can suggest a river, a roof or something nobody has named yet.
This texture-rubbing activity for ages 6–12 uses frottage: making a rubbing over a textured surface. Oak National Academy explains that the pattern comes from the surface underneath, rather than from drawing its outline. Te Papa’s frottage activity uses rubbings as material for an imagined landscape. Here, you can start with a small indoor collection and make a picture without needing scissors or glue.
Put three safe surfaces on the table
Gather a few sheets of ordinary paper, age-appropriate crayons and a protective mat. A broad crayon with some wrapper removed is useful because its side can cover a wider area. An adult can help peel the wrapper; no blade is needed. Keep small broken pieces away from children who might mouth them.
For the surfaces, choose two or three clean, dry, flat objects you own and can safely use. Try exposed ridges on corrugated cardboard, a sturdy textured placemat or a large piece of embossed packaging card. Inspect cardboard for staples and sharp edges. Ask permission before using someone else’s belongings, and avoid valuable, delicate or easily marked surfaces.
You do not need coins, graters, sharp tools, electrical fittings or a hunt around the neighbourhood. Keep this first session at a stable table with materials within reach. Wash hands after handling reused materials, and put the surfaces away if they shed dust or fragments.
Make a sample before planning the picture
- Choose one surface. Put it flat on the mat. Lay paper over it, with enough paper extending beyond the edges that the crayon will stay on the sheet.
- Hold the layers still. One hand can steady the paper. A caregiver can hold a corner if that helps, without guiding the child’s drawing hand.
- Rub lightly. Move the side of the crayon across a small area. Lift the paper to check the result. Try changing direction or pressure before deciding a surface does not work.
- Try a second surface. Use another space or another sheet. Keep the samples separate long enough to notice their differences.
- Choose what happens next. Leave the samples as a collection, or use a favourite pattern to begin an invented picture. There is no required number of successful rubbings.
If nothing much appears, check whether the surface is too smooth, the paper too thick or the crayon touching only at its tip. Change one thing and try again. If the paper tears, ease the pressure or choose a flatter surface. You can stop troubleshooting when the child wants to move on.
Let the pattern suggest the picture
Put the samples in different orientations. Ask, “Does any part remind you of something?” A child might see rain in the stripes or a creature’s skin in a bumpy pattern. “It’s just stripes” is also an answer; the page can stay abstract.
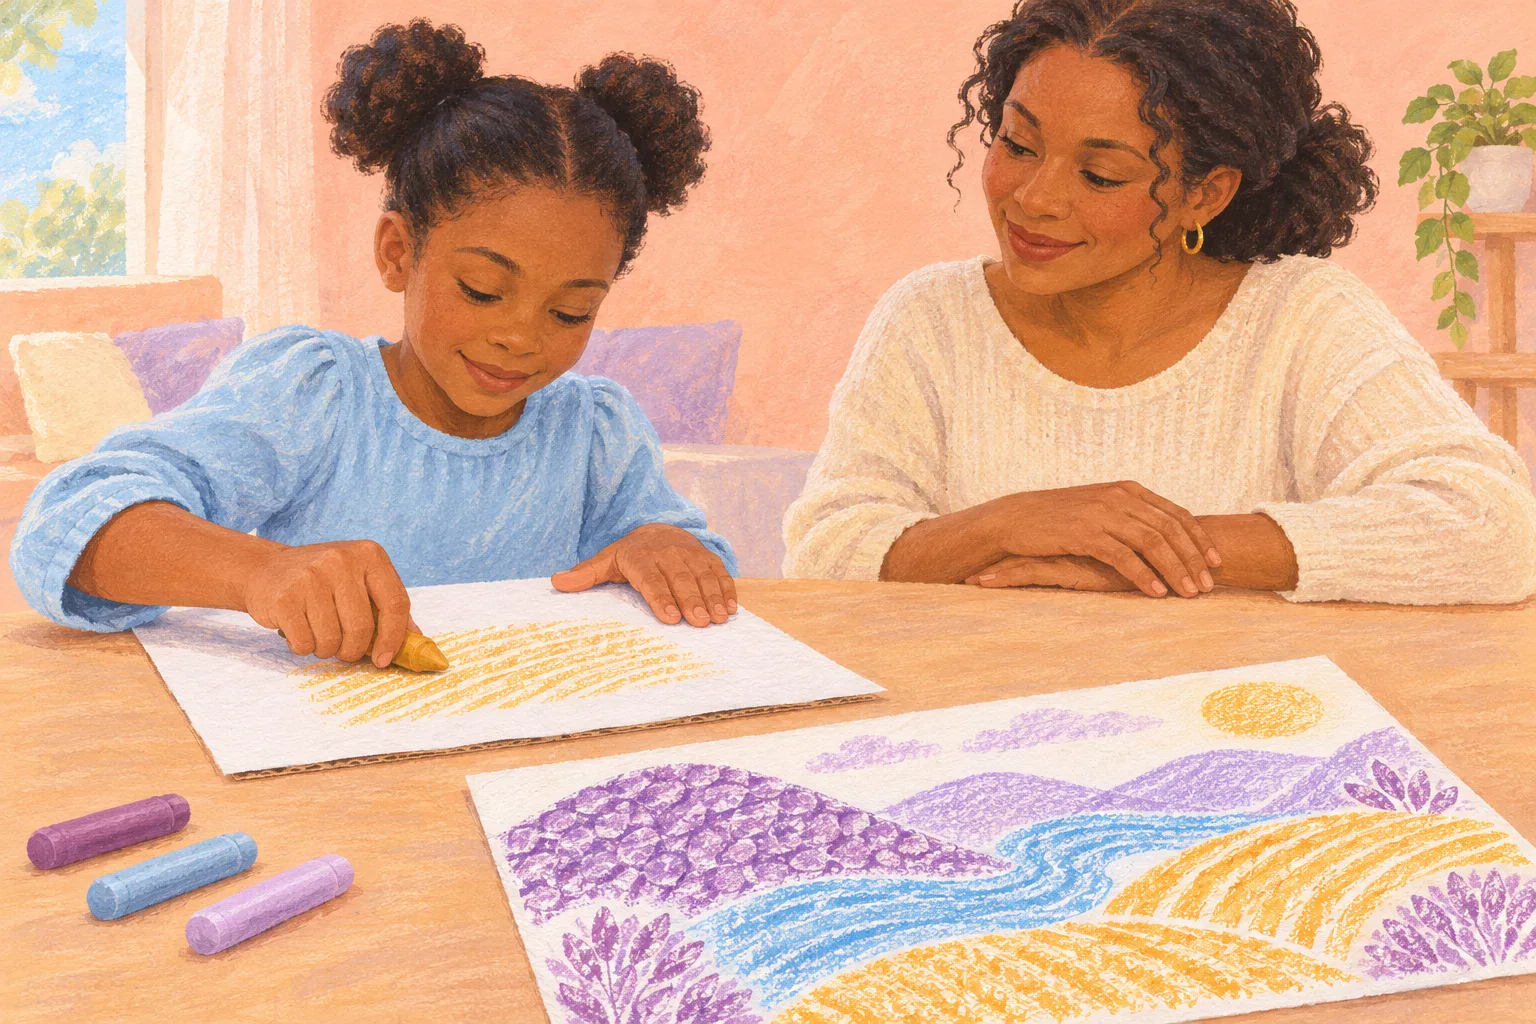
To make a picture on one sheet, rub a patch of one texture, move the paper to another surface and add a different patch nearby. Draw a few connecting marks if wanted. A striped area might become a field, with a blue line winding beside it. Blank spaces can remain blank.
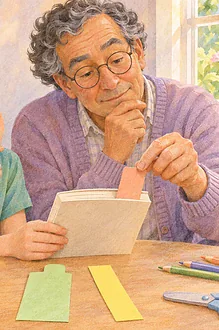
A collage is another option, as in Te Papa’s activity. Children can tear larger pieces from their samples and arrange them before using an age-appropriate glue stick. If they choose cutting, use suitable scissors with supervision and adult help matched to their skills. You can skip attachment entirely and rearrange the pieces for several pictures.
Avoid making your own polished version the model everybody must follow. For a manageable art space, see creative play with a smaller clean-up.
Offer a different invitation at each stage
Ages 6–9: Start with two surfaces and one large sheet. Offer help keeping the layers still. If choosing a subject feels difficult, ask whether they want to make a place, a creature or a page of patterns. Let the answer change as they work.
Ages 10–12: Offer a deliberate experiment before the final picture: use the same surface with strokes going across and along its ridges, or compare two colours over the same texture. They can choose which effect to use and explain a decision if they want. This is an art invitation, not an accuracy test.
At either age, a second round could use only one colour, or two people could trade texture samples with permission. Give siblings separate working sheets and let them decide whether to combine anything. Our guide to making room for copying and imagining may help if a child prefers a familiar subject.
Change the tools when the action is awkward
Offer a chunky crayon, a supported drawing surface or a non-slip mat. Keep the rubbing area small if repeated arm movements are tiring. A partner can steady the layers or make marks under the child’s direction, while the child chooses the surface, colour, position and stopping point.
A child does not have to touch a texture they dislike. They can inspect it through the paper or ask someone to describe it. For limited vision, use a strong contrast and describe where the pattern appears; offer safe tactile exploration of the original surface only if welcome. The finished rubbing is a flat visual record, so keep the surface nearby if touch is the more useful way to compare.
Finish with one thing worth noticing
Ask an optional question such as “Which surface gave you a surprise?” or “What would you try with this pattern next time?” There is no need to turn the session into a quiz about texture.
Let your child choose whether to keep a sample, save an unfinished picture or recycle the paper. Return reusable surfaces to their place and collect loose crayon pieces. These adaptations offer a practical way to explore an established art technique; they do not promise a developmental gain or treat a sensory difficulty.
Sources and further reading
- Museum of New Zealand Te Papa Tongarewa: frottage and imagined landscapes — the rubbing-to-picture approach that informs this activity.
- Oak National Academy: Make frottage leaf studies — how rubbings capture surface patterns, with examples beyond leaves. Lesson content © Oak National Academy Limited (2025), licensed under the Open Government Licence v3.0, except where otherwise stated.