
A paper airplane becomes much more than a quick craft when a child asks, “What would happen if I changed just this part?” That question opens the door to a genuine experiment. The aim is not to find one “perfect” plane. It is to compare designs fairly, gather evidence and use the results to make the next decision.
What you need
- Several sheets of the same size and type of paper
- A clear indoor flight path
- Masking tape or small floor markers
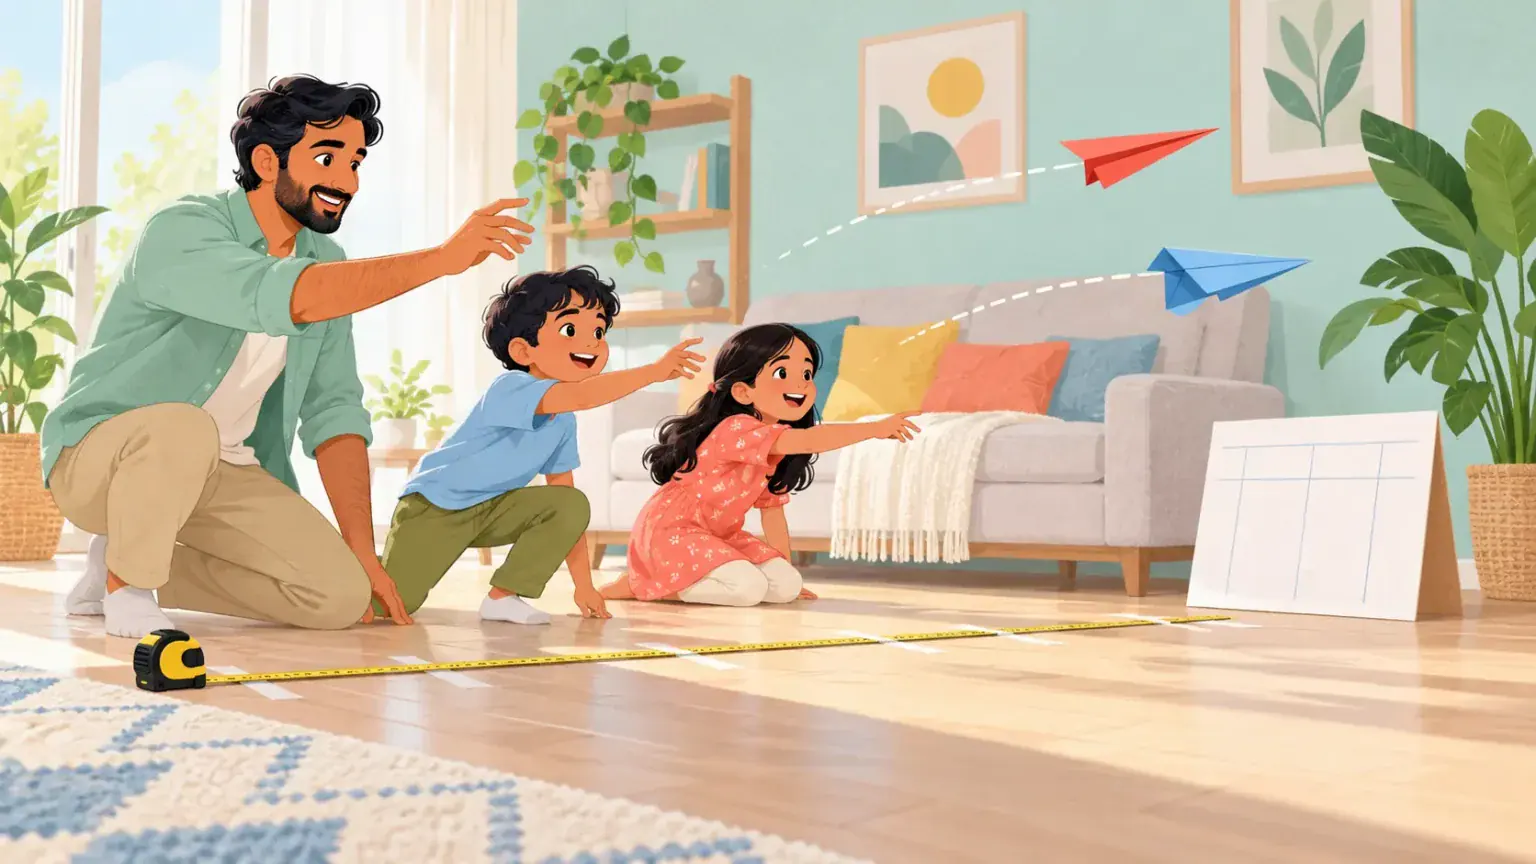
- A tape measure, metre stick or equal-length footsteps
- Pencil and a simple results table
Choose a calm space away from stairs, lamps, pets and people walking through. An adult should check the throwing direction and set a line that nobody crosses during a launch.
Choose one question
Start with one basic plane and make two copies as accurately as possible. Then agree on a single feature to investigate. You might compare wide and narrow wings, one paper clip versus none, or wing tips folded up versus left flat. Keep the paper, throwing line, launcher and measuring method the same. Changing one feature at a time makes the comparison easier to interpret.
Ask the child to predict what will happen and why. Record the prediction without correcting it. A prediction is a starting idea, not a promise to be right.
Run the flight test
- Mark the launch line and decide where each distance will be measured: from the line to the plane’s nose after it lands.
- Label the two designs A and B. This keeps the record simple.
- Use the same person to launch each plane with the same gentle overarm motion.
- Fly A, then B, and repeat until each design has three flights.
- Measure and record every result, including short or crooked flights. Do not quietly discard a result because it looks inconvenient.
- Compare the three flights for each plane. Look at the longest, shortest and typical distance, as well as whether the plane flew straight.
If a plane hits a person or object, note that the trial was interrupted and repeat it. That is different from removing an ordinary poor flight. Older children can calculate an average; younger children can place a strip of tape where each plane lands and compare the cluster of marks.
Talk like investigators
Useful questions include: “What stayed the same?”, “What did we change?”, “Did the results agree every time?” and “What could we test next?” Real results are often messy. A child may discover that a design flew farther once but was less consistent overall. That is valuable evidence, not a failed activity.
For ages 6–9, use pictures or tally marks and focus on farther, shorter and straighter. Ages 10–12 can create a table and calculate a mean. Teenagers can investigate launch angle, discuss sources of measurement error or graph distance against one controlled design change.
Make participation accessible
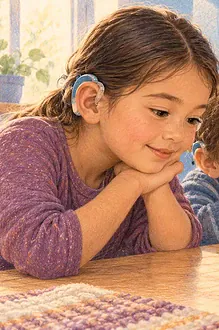
A child who finds folding difficult can choose the test question, add labels, measure landings or announce the countdown. A seated launcher can use a clear tabletop or lap board and test gentle glides. If throwing is uncomfortable, release planes from the same ramp height instead. The scientific thinking belongs to every role.
Extend the investigation
Once the first comparison is complete, redesign one plane using the evidence. Test the new version against the original. You can also compare this activity with EdCaptain’s foil boat challenge, where children also change one feature at a time, or try more build-and-test challenges. For a stronger measurement focus, use the ideas in measuring and mapping games.
Safety and cleanup
Use ordinary paper rather than sharp card, keep faces out of the flight path and never launch toward stairs, traffic or breakable objects. Remove paper clips before recycling the planes. Finish by asking the child to make one evidence-based statement: “Our results suggest…” That phrasing keeps the conclusion appropriately cautious.