
By EdCaptain editorial desk · Published
A cold drink leaves a wet ring, even though nobody spilled it. Your child may decide the water has seeped through the container. That is a sensible idea to investigate: the liquid is inside, and the wetness is outside. A comparison can help you look for another explanation without asking your child to accept “because science” as an answer.
This supervised activity is for ages 6–12. Younger children can predict, observe and draw; older children can plan the comparison and discuss what the evidence does not establish. You need no hot water, chemicals or special kit.
The question to keep open
Ask, “Where could the outside water have come from?” Write or draw the ideas before explaining. Possibilities might include a spill, a leak, or water from the surrounding air. Treat these as suggestions to check, not a competition to guess the adult’s answer.
The scientific explanation is condensation: water vapour changes from gas into liquid water. The USGS Water Science School uses droplets outside a cold glass as an everyday example. Water vapour can be present even when the air looks clear. The visible drops are liquid water, not visible vapour.
Prepare a useful comparison
You will need:
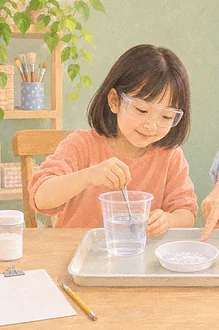
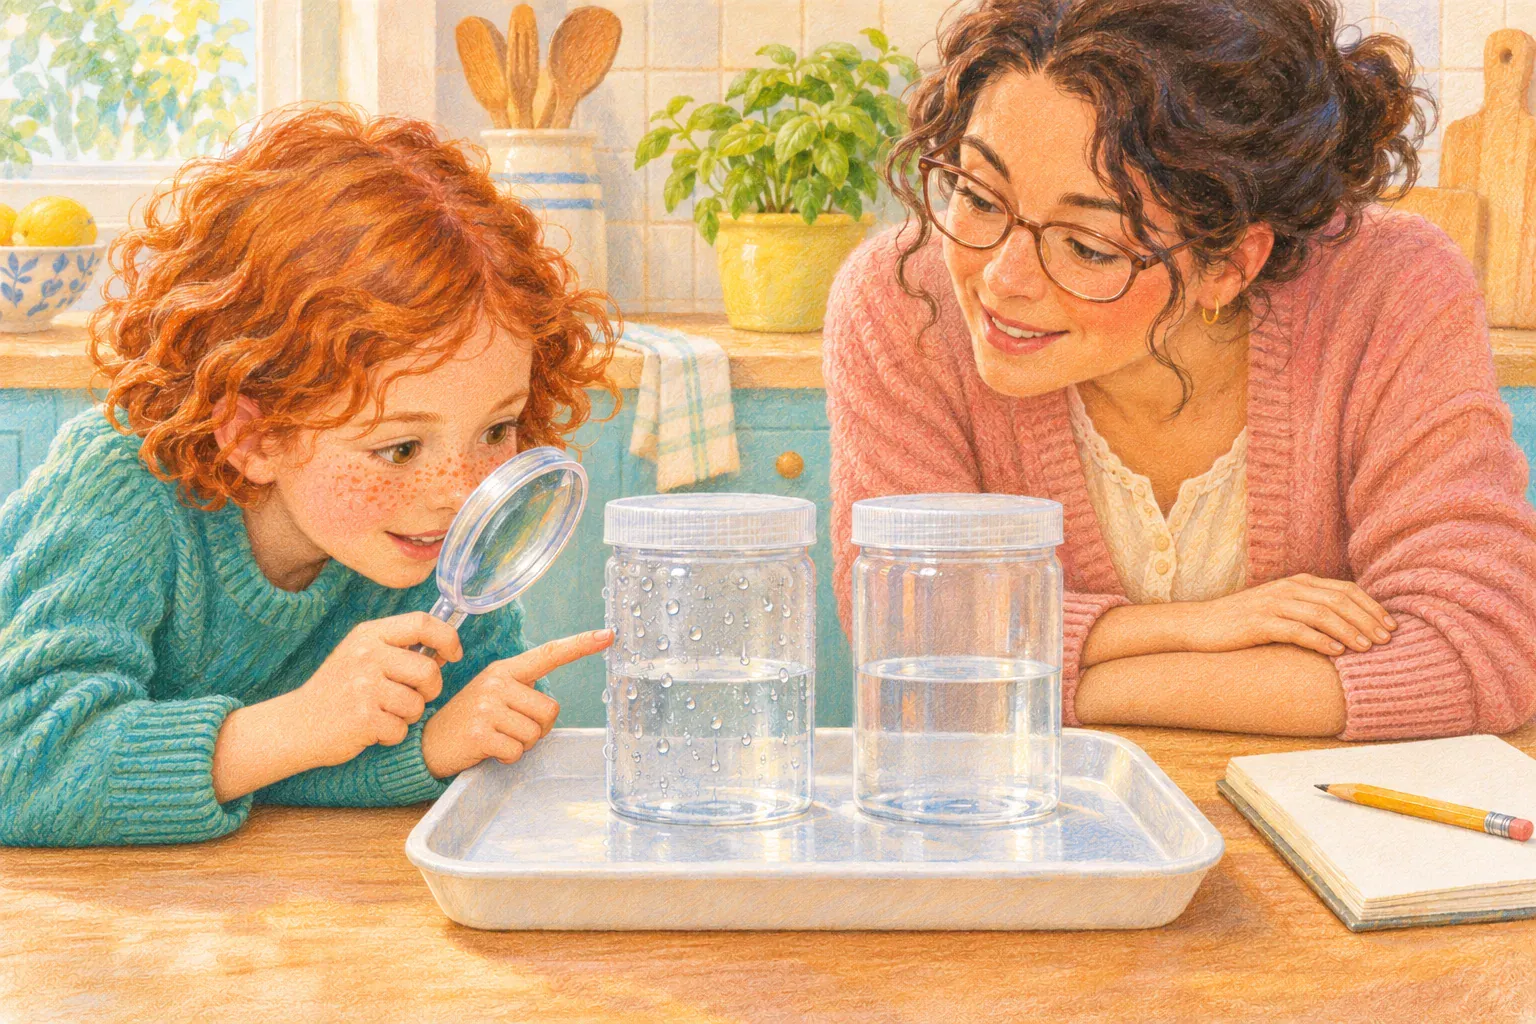
- Two matching, undamaged, transparent, single-wall plastic food containers with secure lids.
- Equal amounts of water, filling each container about halfway.
- A shallow tray, a dry cloth, paper and a pencil.
- A clock or timer; a large plastic magnifier is optional.
Avoid glass and insulated containers. Insulation may keep the outer surface from becoming cold enough for a useful comparison. An adult should check that the lids close securely and that neither container leaks when gently tipped over a sink, then dry them.
Prepare one container in the refrigerator until its water is chilled. Keep the other at room temperature. Do not freeze the container. Leave both closed during the observation so a child cannot accidentally splash water onto the outside while examining them.
Set up at a reachable height on a stable surface, away from sockets, appliances and table edges. Adults handle filling and lids; keep detachable lids away from children who may mouth them. Wipe up spills promptly. Do not taste water or lick droplets during the investigation.
Watch before you wipe
- Start dry. Bring the chilled container to the tray. Thoroughly wipe the outside of both containers, including around the lids. Record whether either is already wet at the start.
- Predict. Ask which container, if either, will develop outside droplets. Let your child explain a reason and mark the prediction.
- Observe together. Stand both containers side by side in the same indoor location. Look at the outside walls after five minutes and again after ten. Do not open, shake or move them between observations.
- Record what you can see. Describe each as dry, misty-looking, showing separate drops, or showing drops joining and running. Note where the moisture is: wall, lid or underneath.
- Check one patch. After the ten-minute record, an adult can dry a small patch on the chilled container. Watch whether droplets return there. Record this extra step separately because wiping changes the surface.
Do not promise a dramatic result. Depending on the room and how cold the surface is, droplets may form quickly, slowly or be difficult to see.
Give the observations their own space
A simple record can have one line for each container at the start, five minutes and ten minutes. Add a drawing or a short phrase. “Small drops on the lower wall” is an observation. “It leaked” is a possible explanation; keep that in a separate space.
For ages 6–9, an adult can write while the child points out changes. A dark sheet behind the clear container may help droplets stand out. Describe the surface aloud for a child who cannot see the drops clearly. Participation can mean directing the observer, choosing a description or listening for differences in the reports.
For ages 10–12, ask what you tried to keep alike: container material and size, water amount, starting dryness, location and observation times. The intended difference is how cold the water and container are. Without temperature and humidity measurements, describe this as a simple comparison rather than a precise measurement of condensation rate.
Does the result support a leak?
If the chilled container develops droplets while the room-temperature one stays dry, that pattern fits condensation on the colder surface. Water vapour in the surrounding air can become liquid on a sufficiently cold surface. The container has not made new water.
Ask, “If water were leaking, what other clues would we look for?” Moisture beginning at a damaged seam, a loose lid or water left from filling would need attention. A single home comparison cannot prove that every wet container is watertight. Your initial leak check and careful drying help rule out some alternative explanations; they do not make the setup perfect.
Try: “We saw drops on the outside after starting with a dry surface. Condensation is an explanation that fits. What could we check again?” That keeps the conclusion connected to the evidence.
If nothing seems to happen
The American Chemical Society’s Condensation Station notes that very dry air may not provide enough water vapour for an obvious cold-cup result. The surface may also have warmed, or an insulated container may be a poor choice.
Record “no visible droplets” rather than inventing a successful result. Check the container type, starting dryness and chilled water, then repeat another time if your child is interested. Keep the two-container method consistent. A different day also brings different conditions, so do not treat it as an exact repeat or quietly change several things at once.
There is no need to rescue the activity with boiling water, a kettle, smoke or a spray. A result that is hard to see is a chance to discuss the limits of this setup.
Connect one small observation to a bigger process
Ask whether your child has noticed fogged spectacles or droplets on a cool window. Similar phase changes can occur there, though the source of moisture and the temperatures depend on the situation. Do not use this experiment to diagnose dampness or leaks in the home; adults handle those checks.
To explore water’s wider journeys, build the water-cycle paper model. For a different process, compare this with water travelling through a paper-towel bridge: there, liquid moves through a material rather than forming from vapour on a cold surface.
Finish with “What did we observe, and what would we like to check next?” Then empty the containers, wash and dry them, and wipe the tray and surface. Keep the child’s original prediction beside the result; changing an explanation after looking closely is part of the investigation.
Sources and further reading
- USGS Water Science School: Condensation and the Water Cycle — phase change and everyday cold-surface examples.
- American Chemical Society: Condensation Station — water in the air and limits in dry conditions.