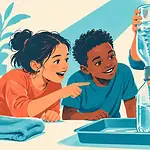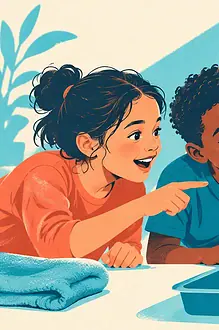


Water usually seems to move downhill, so it is captivating to watch it climb a paper towel and cross into an empty cup. The “walking water” activity makes capillary action visible and gives children time to predict, observe and revise their ideas.
What you need
- Three to seven clear cups of equal size
- Water
- Washable food colouring
- Plain paper towels
- A tray or wipeable surface
- A clock, pencil and observation sheet
Food colouring can stain, so protect clothes and surfaces. The coloured water is not for drinking. Place the setup where it can remain undisturbed for several hours.
Set up the paper bridges
- Place three cups in a row. Fill the first and third cups about halfway, leaving the middle cup empty.
- Add a different food colour to each filled cup and stir with separate spoons.
- Fold two equal strips of paper towel lengthwise. Trim them so each strip reaches the bottom of two neighbouring cups without a large loop.
- Put one end of the first strip in cup one and the other in cup two. Bridge cups two and three with the second strip.
- Mark the starting water levels or photograph them.
- Observe after five minutes, then at longer intervals. Record what the water and colours do.
Water is attracted to the tiny spaces among the paper fibres and can move through those spaces. It keeps travelling while attraction within the water helps pull more water along. Gravity still matters, so the water levels eventually move toward a balance.
Ask before explaining
Invite the child to look closely at the wet edge. “Where is the water now?”, “Which direction is it moving?” and “What do you think the empty cup will look like later?” encourage evidence-based talk. Let an early prediction stand beside the later observation. Changing one’s mind because of evidence is a scientific strength.
Design a comparison
After the first observation, investigate one variable. Compare two brands of paper towel, a paper towel and a strip of cotton fabric, warm and cool water, or narrow and wide strips. Use equal cups, water volumes, strip lengths and observation times. A material that absorbs water quickly may not always move the greatest amount across the bridge, so measure rather than assume.
Younger children can use drawings showing the wet area at different times. Ages 6–9 can mark water levels and create a sequence. Ages 10–12 can time how long the wet front takes to reach a fixed mark, repeat the test and discuss why fibres and strip dimensions affect the result.
Make the activity accessible
Use high-contrast colours and a white tray if that helps the wet edge stand out. A child who avoids food colouring can work with clear water and mark the advancing line in pencil. Assign roles such as cup arranger, timer, photographer and recorder. Pre-fold towels for children who find fine-motor tasks tiring.
Common problems
If the water does not reach the empty cup, shorten the bridge or add enough water for both ends to stay submerged. If it moves too quickly to compare, use a longer strip and begin timing immediately. If the cups overflow, use less starting water. Do not top up quietly; record any change to the method.
Keep investigating
Try the same observation habits in the seed germination experiment. The shadow investigation also helps children record change over time, and measuring games can strengthen the recording skills used here.
Safety and finish
Supervise young children around cups and colouring, wipe spills promptly and keep the setup away from electrical items. Pour the coloured water down a suitable sink and recycle or discard the towels according to local guidance.